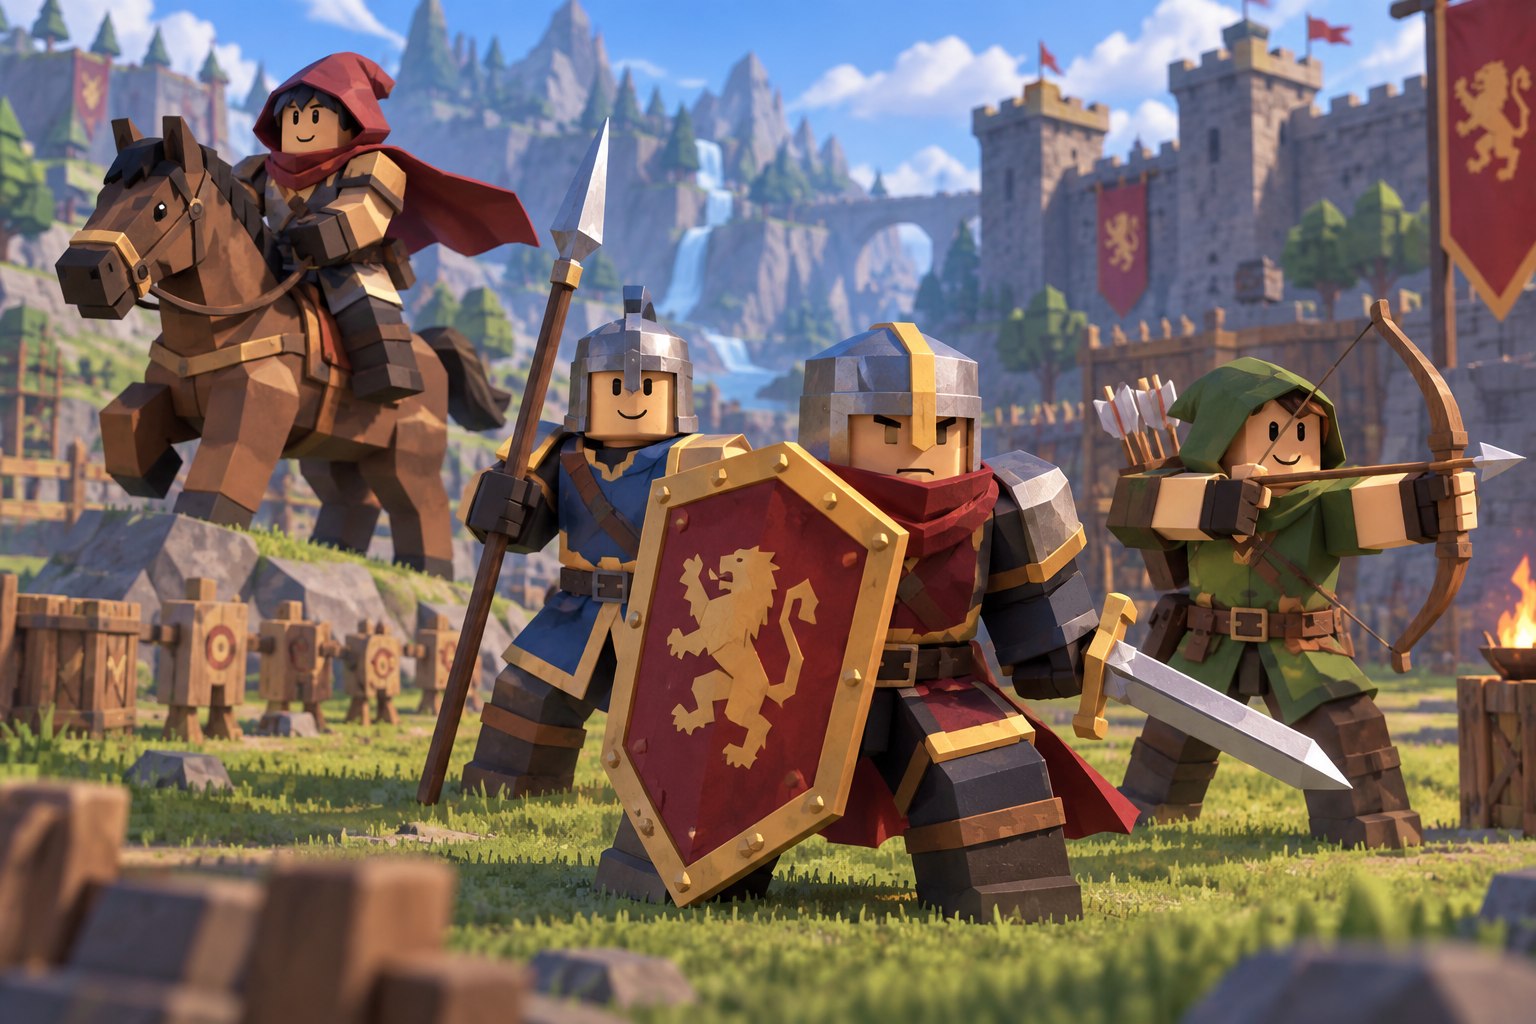
Control basics
Your commander uses Roblox's standard movement and camera controls, while the game adds four squad orders: Follow, Hold, Attack, and Rush. Exact button placement can differ on keyboard, controller, and touch devices, and the interface may change after updates. Trust the command labels visible in your current session.
Follow: regroup and relocate
Follow keeps your troops with the commander. Use it after spawning, after capturing a point, or whenever your formation has stretched across the map. It is the safest default while moving between objectives.
Do not leave Follow active without thinking during a close fight: pulling the commander backward may also pull useful troops away. Use it deliberately to reset the formation.
Hold: defend useful ground
Hold asks the squad to remain at a position. Good Hold locations force enemies to approach your frontline before they can reach ranged units. Capture zones, gates, narrow bridges, and corners with a safe firing lane are natural choices.
A Hold is only as good as the position. Parking fragile units in an exposed area does not become defensive simply because the button says Hold.
Attack: commit as a group
Attack sends troops into the active fight or toward the objective. Use it when your frontline and damage units are close enough to support each other. If a mobile unit has raced ahead while the rest of the squad is still following, regroup first.
Rush: speed with a cost
Rush is an aggressive burst that helps close distance or exploit a weakened position, but it reduces safety. It works best over a short, clear route when the enemy is already disrupted. Avoid using it blindly into an intact defensive line.
Useful command sequences
| Situation | Sequence | Reason |
|---|---|---|
| Moving to a new point | Follow → Attack | Arrive together before committing. |
| Defending a capture zone | Follow → Hold | Place the whole squad, then anchor it. |
| Recovering after a failed push | Follow → reposition → Hold | Stops repeated one-by-one losses. |
| Finishing a broken defense | Follow → short Rush → Attack | Uses speed only after the opening exists. |
If the controls feel unresponsive
- Confirm that your troops are alive and within the expected command area.
- Check that you have selected the intended order rather than a nearby interface button.
- Regroup with Follow before issuing a new commitment.
- If the layout differs from a guide, follow the live interface; device and update differences are normal.
Next, learn the full match loop in how to play or build a squad that responds well to these orders in the formations guide.